Wall calendars
The Motif Studio wall calendar is a 13 × 10 inch, top-bound calendar designed around your photos. Choose when it begins, how long it runs, and which dates should be meaningful.
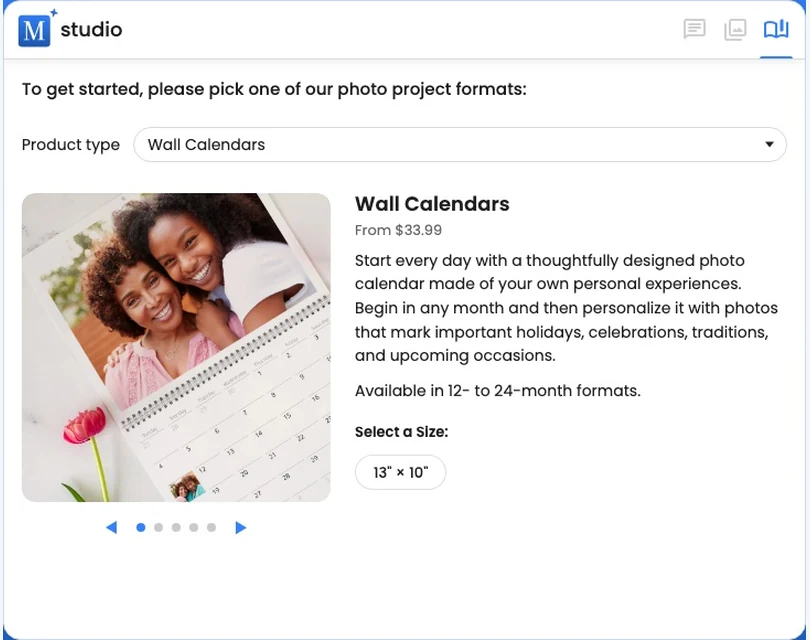
Set up the calendar
After choosing Wall Calendars, select:
- Start Year
- Length from 12 through 24 months
- Start Month
- First Day of Week as Sunday or Monday
- Language for month and weekday text
- National Holidays For a supported country, or None (this list uses the calendar's language)
When you start in Motif Studio from a storefront calendar, its selected length is already filled in. Review it and choose your start date and other options before continuing. You can still change the length during setup.
For a fully photo-filled first draft, add one photo for every selected month. A 12-month calendar uses at least 12 photos; an 18-month calendar uses at least 18. If you want to begin sooner, choose Skip for Now after setup. Motif Studio keeps any photos you already added and fills only the uncovered months with replaceable placeholders.
One photo per month is enough to start, but a larger set gives Motif Studio more choices and makes multi-photo month designs possible.
What is in the first draft
The draft includes:
- a front cover;
- one photo-and-date design for every selected month;
- a back cover;
- month and weekday labels in your chosen calendar language;
- national holidays for the selected country, when enabled.
Motif Studio can place one to four photos in a month’s photo area and uses your collection to create a varied sequence.
If you chose Skip for Now, review every placeholder-backed month and replace its temporary image before ordering.
Edit calendar photos
Select a month’s photo area to replace, move, crop, rotate, or filter its photos. You can also choose a different layout or ask Chat for a specific change, such as:
Put the snowy cabin photo in December and use a two-photo layout for July.
See Place, replace, and move photos.
Edit dates and holidays
You can add a personal note such as a birthday, anniversary, vacation, or reminder to a date cell. You can also place a photo in a date cell. Each date is edited individually, so add the note or photo separately on every date where it should appear.
On a phone or tablet, tapping a date's text opens the same Edit Text screen as any text box, with the date's holiday and note ready to edit. Done shows the note on the date straight away and saves it (the month refreshes once the save completes), and Cancel discards your changes; emptying the text and choosing Done removes the note.
You can also rename or remove an individual national holiday. To change the calendar-wide holiday country, language, start date, length, or first day of the week, open Preferences in the editor. On a phone, open Options in the All Pages list and choose Change Calendar Options; the same controls open as a sheet from the bottom of the screen. A desk calendar's options are its start year, start month, and calendar position. Calendar options cannot change while the editor is locked.
Reducing the calendar length removes trailing months. Increasing it adds new months that need photos and review. Check every affected month after the update.
Calendar-specific controls
Calendars use fixed month surfaces, so they do not have the photo-book Rearrange Pages mode or two-page spreads. Move through the months in the calendar editor and edit each photo page and date grid in place.
Use Undo and Redo for recent changes. The Products area keeps the project within compatible calendar formats. Open it from the product name under your project title, or on a phone from Options › Change product. Desk calendars have no cover, so switching one to a wall calendar adds a front cover that starts with a photo already on your month cards, together with the project title; replace that photo or choose a different cover design whenever you like. If your month cards have no photos yet, the new cover starts empty; add a photo to it or choose a cover design.
Preview the printed calendar in 3D
Choose 3D Preview above your project, next to Share, to inspect the complete wire-bound calendar. Use the arrows or month list to move from the closed front cover through each month; each selection turns the printed leaf over the top wire so the photo appears above its date grid.
Drag the preview to inspect the page stack and both printed sides. From the back of an open calendar, the front cover appears upside down above the wire and the logo-bearing back cover appears below it, as they do on the physical product. Selecting Back cover moves to that final physical arrangement and turns the view around for you.
Double-click a month (its photo or date grid) or a cover to jump straight to it in the editor, where it opens scrolled into view and briefly highlighted.
Before ordering
Review:
- the start month, year, and total number of months;
- every photo crop and month assignment;
- the first day of the week;
- holiday country and calendar language;
- personal-note spelling, dates, and any date-cell photos;
- the cover and back cover.
Then continue with Review before ordering.